
Lease Faster: Landlords' 45 Minute Rental Listing Photos Workflow

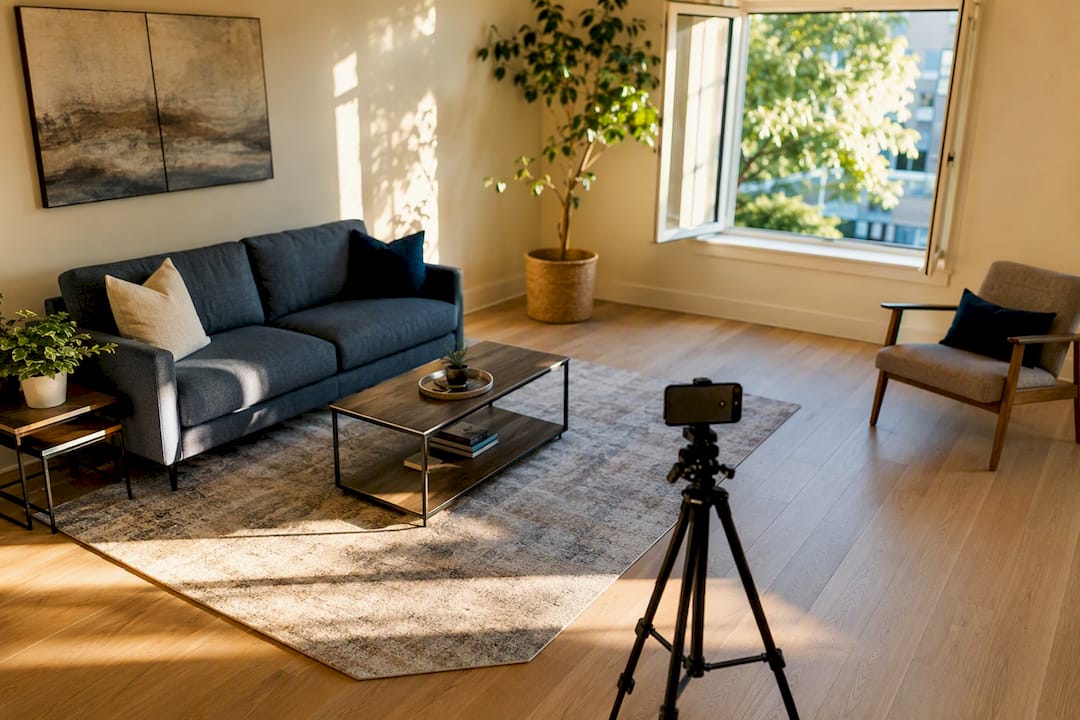
Use 10 to 15 bright, wide-angle photos, led by an exterior hero shot and staged interiors, to cut vacancy time and attract better-qualified applicants. Shoot in natural light, from room corners for depth, and skip the phone’s digital zoom. 2ndstreetpropertymanagement applies this exact standard across its own managed listings.
TL;DR:
Using 10 to 15 high-quality photos, including exterior, living room, kitchen, bedrooms, and shared amenities, maximizes tenant interest and trust.
Photograph rooms in natural light, from corners, avoiding filters and digital zoom to ensure accurate, professional-looking images.
Staging should be quick, focused on decluttering and proper lighting, with photos taken during golden hour for the best natural effect.
Avoid misleading, blurry, or overly edited images, and ensure all photos are honest, properly lit, and reflect the true condition of the unit.
Professional photography and strategic listing management reduce vacancy time and attract more qualified applicants, especially for multiple-unit portfolios.
Table of Contents
Why These Rental Listing Photos Work Best
The photos that convert browsers into applicants all do the same job: they let a stranger picture living there before they’ve read a single word of your description. That’s why an exterior hero shot, a wide-angle living room, and a handful of tight detail shots outperform ten mediocre snapshots of the same room from the same angle.
The industry guideline points to 10 to 15 images as the sweet spot. Fewer than that, and prospects assume you’re hiding something. More than that, and you’re padding the gallery with redundant angles nobody scrolls to. Quality beats quantity every time, but quantity within reason signals a landlord who takes the unit seriously.
Photos also do psychological work before a tenant ever picks up the phone. Research on rental marketing shows that image quality shapes a renter’s first impression of cleanliness, space, and whether the landlord is someone worth trusting with a security deposit. A blurry kitchen photo doesn’t just look unprofessional. It plants doubt about maintenance, management, and everything else the tenant can’t verify remotely.
Keep these fast rules in mind before you lift the camera:
Shoot every room with the widest natural light available, ideally before noon or in late afternoon.
Stand in a corner, not the doorway, to capture depth and scale.
Never publish a photo with a person, a pet mid-motion, or a cluttered surface in frame.
Skip filters that shift wall color or exaggerate room size beyond reality.
Lead your gallery with the exterior, not the bathroom.
Get these fundamentals right and everything downstream, from showings to lease signings, moves faster.
The Shot-By-Shot Checklist For A Single Photo Visit
Walk the property once with this order in mind, and you’ll leave with a complete gallery instead of a pile of duplicate angles. This sequence mirrors the kind of structured shot lists used in vacation rental marketing, adapted for a long-term lease audience that cares more about function than vacation appeal.
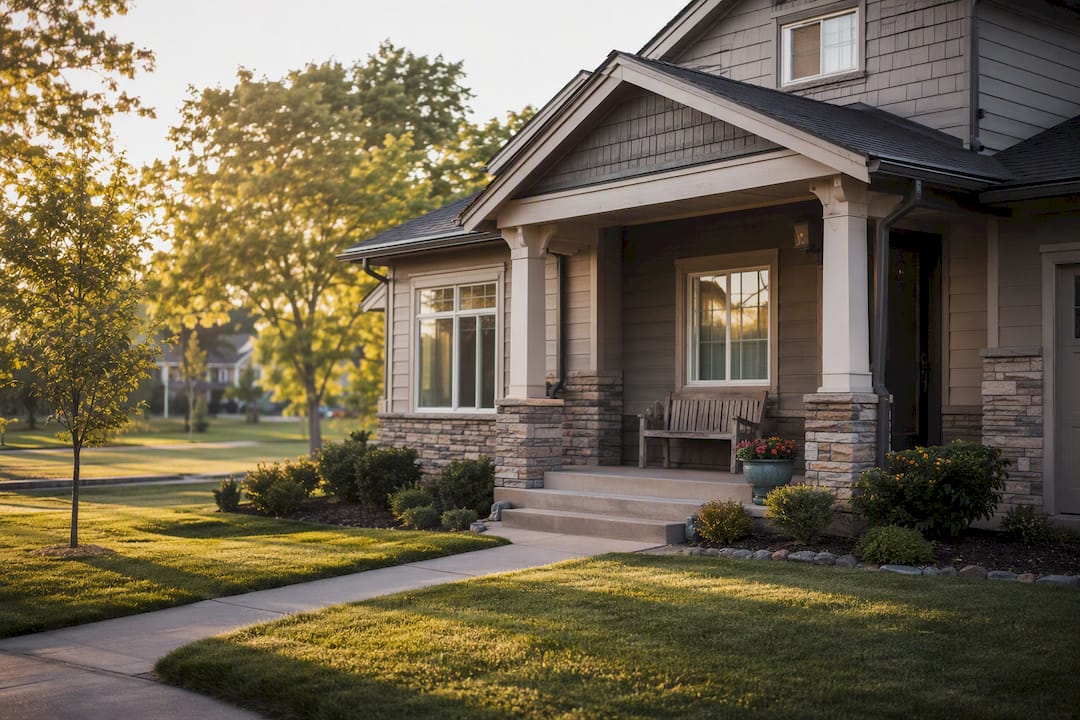
Exterior hero. Shoot straight on or at a slight angle in late afternoon light, with interior lights turned on so windows glow rather than go dark and flat.
Living room, wide. Stand in the far corner and capture the full room, including any natural focal point like a fireplace or bay window.
Living room, secondary angle. A second shot from a different corner shows scale and confirms the first angle wasn’t cropped to hide a small space.
Kitchen, wide. Capture counters, cabinets, and appliances together from the entry point.
Kitchen, counter close-up. Show usable counter space and any recent updates like a backsplash or new hardware.
Kitchen, appliance detail. A clean shot of the stove, dishwasher, or refrigerator reassures renters those items work and are included.
Primary bedroom, wide. Shoot from the doorway or nearest corner with the bed made and closet doors shut.
Bedroom detail. Closet space or a window view adds context that a wide shot alone won’t.
Bathroom, wide. Capture the full room including the vanity, tub or shower, and flooring.
Bathroom detail. A close-up of updated fixtures or tile signals maintenance quality.
Laundry and storage. In-unit laundry, a linen closet, or a pantry are amenities renters specifically search for.
Parking and shared amenities. A driveway, assigned spot, or building amenity like a gym or pool deserves its own frame.
That’s twelve core shots. Add two or three detail close-ups, a fireplace, hardwood grain, a view, and you land inside the 10 to 15 range without padding the gallery.
What Camera Gear Actually Gets You Publish-Ready Photos
Your phone is enough. A clean lens and the highest resolution setting your phone offers will outperform an old point-and-shoot camera or a dirty DSLR every time. What separates an amateur photo from a listing-ready one isn’t the equipment. It’s composition and light.
Turn on your camera’s gridlines before you shoot a single frame. Composition guidance built around the rule of thirds recommends aligning windows, doorways, or furniture edges along those grid intersections rather than centering everything. It’s a small habit that makes rooms look intentional instead of snapped in a hurry.
A few equipment habits worth building into your routine:
Shoot from a room’s corner, angled slightly downward, to capture depth rather than a flat wall-on view.
Never use digital zoom. Step back or switch rooms instead; zoomed shots look grainy on any screen larger than a phone.
In low light, brace the phone against a doorframe or use a small tripod rather than raising ISO, which introduces grain.
Consider a clip-on wide-angle lens or a basic DSLR only once you’re managing several units and want to speed up the shoot itself.
Pro Tip: Set your phone to its widest available aspect ratio before you start shooting, not after. Cropping wide shots down later loses resolution and defeats the purpose of shooting wide in the first place.
How To Stage A Rental For Photos In Under 45 Minutes
Staging doesn’t mean hiring a designer. It means removing anything that distracts from the room itself, a process that materially changes how staged and tidy interiors photograph compared to lived-in spaces full of personal clutter.
Work through this before the camera comes out:
Clear kitchen counters down to one or two items, max.
Make every bed and close every closet door.
Remove personal photos, mail, and anything with a name or address visible.
Add one or two small staging touches: a folded towel, a plant, a bowl on the counter. Don’t overdo it.
Turn on every light fixture in the unit, even during daytime shoots.
If the unit is tenant-occupied, give proper notice under your lease terms and consider a small incentive, like a rent credit, for a tidy walkthrough on shoot day. A cooperative tenant produces far better photos than one who feels ambushed.
Lighting And Timing: When To Shoot For The Best Results
Natural light photographs better than any bulb you own, and golden hour, the hour after sunrise or before sunset, gives you soft, warm light without harsh shadows. Shooting at midday under direct sun often blows out window-facing rooms and casts hard shadows across furniture.
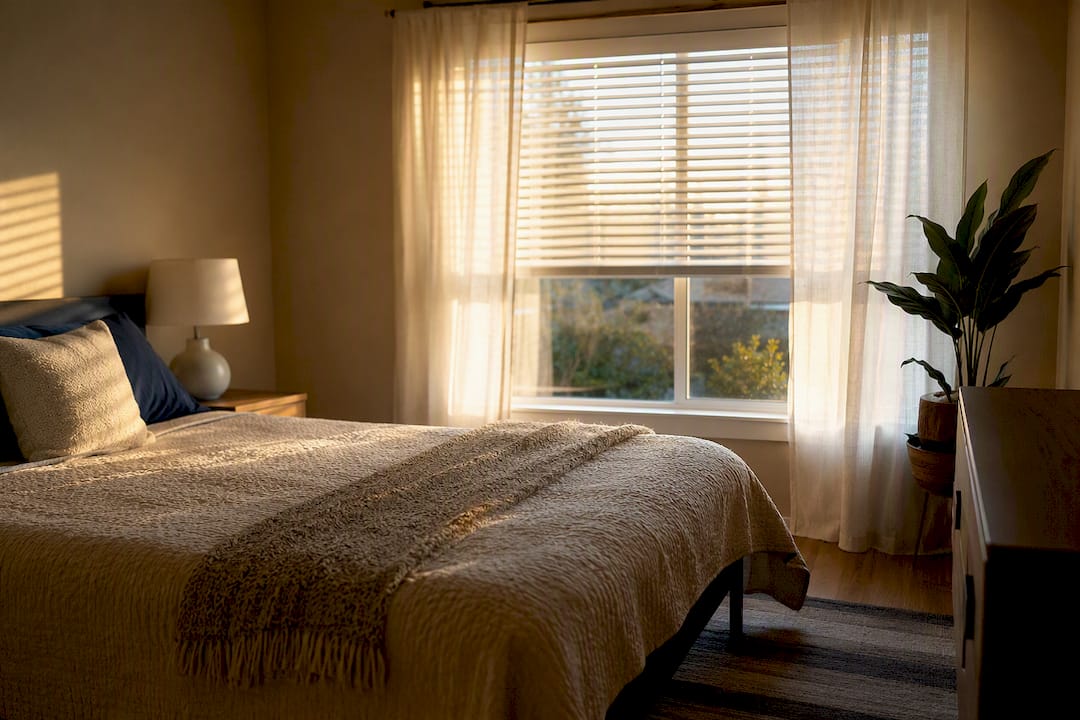
Open every blind before you shoot, and turn on interior lights even when natural light is strong. Mixed light sources create a warmer, more inviting frame and eliminate the dark corners a single light source leaves behind. Just watch for color temperature clashes, an overly yellow lamp next to a cool window can leave a strange tint if you don’t correct it in editing.
On cloudy days or for units you can only access in the evening, daylight-balanced bulbs and a steady tripod solve most of the problem. A slightly overcast day, in fact, often produces more even light than full sun.
Editing Rules And File Specs For Listing Platforms
Edit with a light hand. Straightening a tilted horizon, cropping out a distracting edge, and nudging exposure up slightly are all fair game. Heavy filters, saturation boosts, or removing a visible flaw crosses into misleading territory, and platform guidance on rental photos warns that edits perceived as deceptive erode trust fast once a tenant tours in person.
Stick to these specs before you upload:
Save as JPEG, the format every major listing site expects.
Aim for a resolution around 1024 by 768 pixels or higher, without exceeding platform file-size caps.
Order your gallery with the exterior first, then living areas, kitchen, bedrooms, and bathrooms last.
Rename files descriptively (“123-main-kitchen-wide.jpg” beats “IMG_4021.jpg”) if your platform indexes filenames for search.
Capturing Curb Appeal And Outdoor Living Space
Shoot the exterior hero straight on during golden hour, with the lawn recently mowed and walkways clear. Decks, yards, and parking areas deserve their own frame, shot wide enough to show usable space without cropping out context. If a view or neighborhood feature adds real value, a distant, respectful shot works. Never linger on a specific neighboring home or a private space that isn’t yours to show.
Photos That Cost You Applicants (And Why)
Blurry, dark, or crooked photos read as neglect, even when the unit itself is well maintained. Over-edited shots that oversaturate colors or artificially brighten a windowless room create expectations you can’t meet at the showing, and that gap costs you applicants once they walk through the door.
Privacy matters just as much as quality. Never include a tenant’s face, mail, an ID, or a visible security code in any listing photo, and check mirrors and reflective surfaces before you shoot. If a unit has a real flaw, a worn floor, a small stain, an outdated fixture, photograph it honestly in context rather than cropping it out. Tenants who feel misled after move-in file more complaints and leave sooner.
How We Apply The Photo Standard To Reduce Vacancy
2ndstreetpropertymanagement builds the 10 to 15 photo guideline directly into every leasing workflow we run for owners, because more views and stronger tenant interest start with the gallery, not the showing… DIY photos work fine for a single unit with good light and a free afternoon. Once you’re juggling multiple properties or a unit isn’t leasing fast enough, a property manager or professional photographer usually pays for itself in reduced vacancy days.
— Main
Let 2ndstreetpropertymanagement Handle Your Listing Photos And Leasing
2ndstreetpropertymanagement is the alternative to piecing together your own photo shoot and hoping the listing performs. We coordinate the staging prep, the shoot itself or the upload of your existing images, and the listing optimization that follows, so a unit that might sit for weeks on a landlord’s own timeline gets in front of qualified applicants faster. That means fewer vacancy days and fewer showings wasted on renters who weren’t a fit to begin with.
If you manage more than one property or you’re tired of rewriting the same listing description at midnight, our vacancy process guidance walks through exactly where photos fit into a faster leasing cycle. Better photos also tend to draw more serious applicants, which pairs directly with avoiding the tenant screening mistakes that cost landlords the most money. Reach out to see how our leasing team can take your next listing off your plate entirely.
Sources
Recommended
Comments